Note: Intake is in active development. Several new features are planned, and this documentation may not reflect the latest updates.
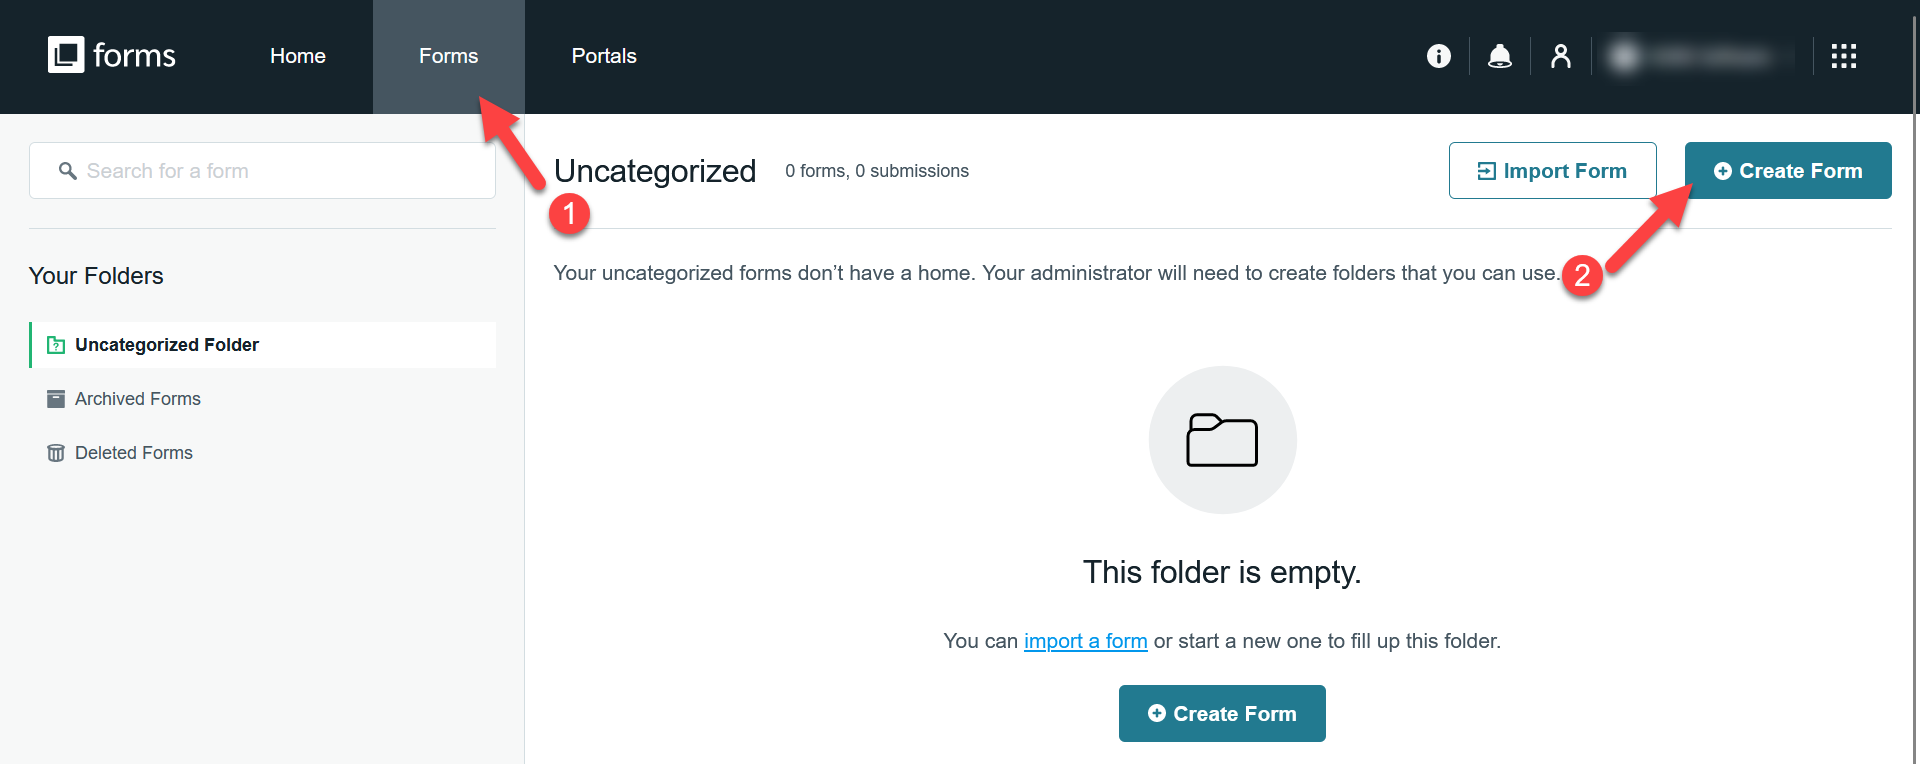
When your organization signed up for Intake, KORE created a Formstack account for you to use. Begin by signing into that account, then create a new form. Formstack auto-saves your work—there's no need to manually save it.
Note: Formstack is a third-party provider, and their user interface may change without notice here.
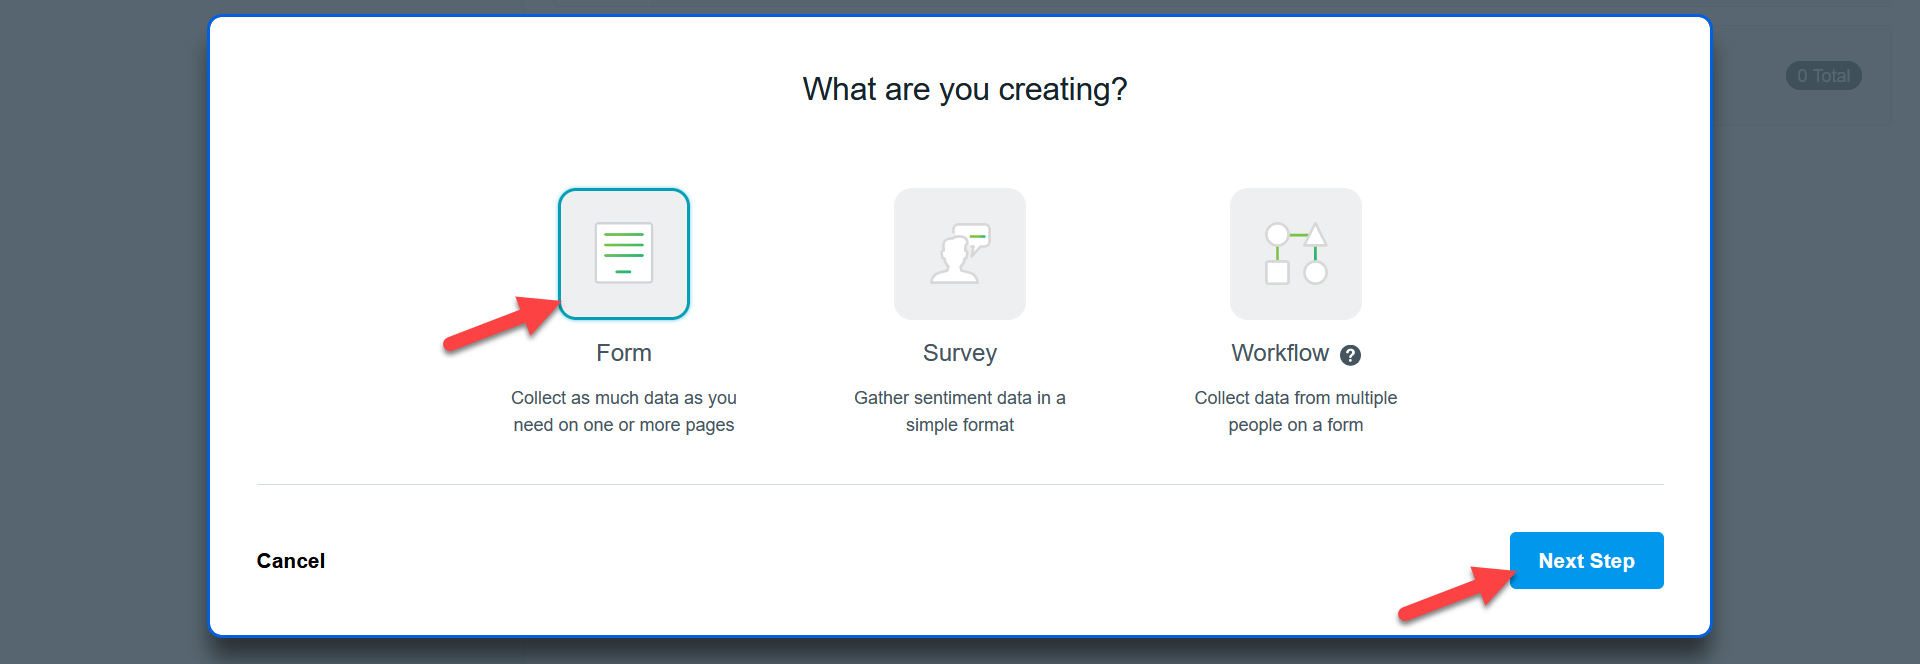
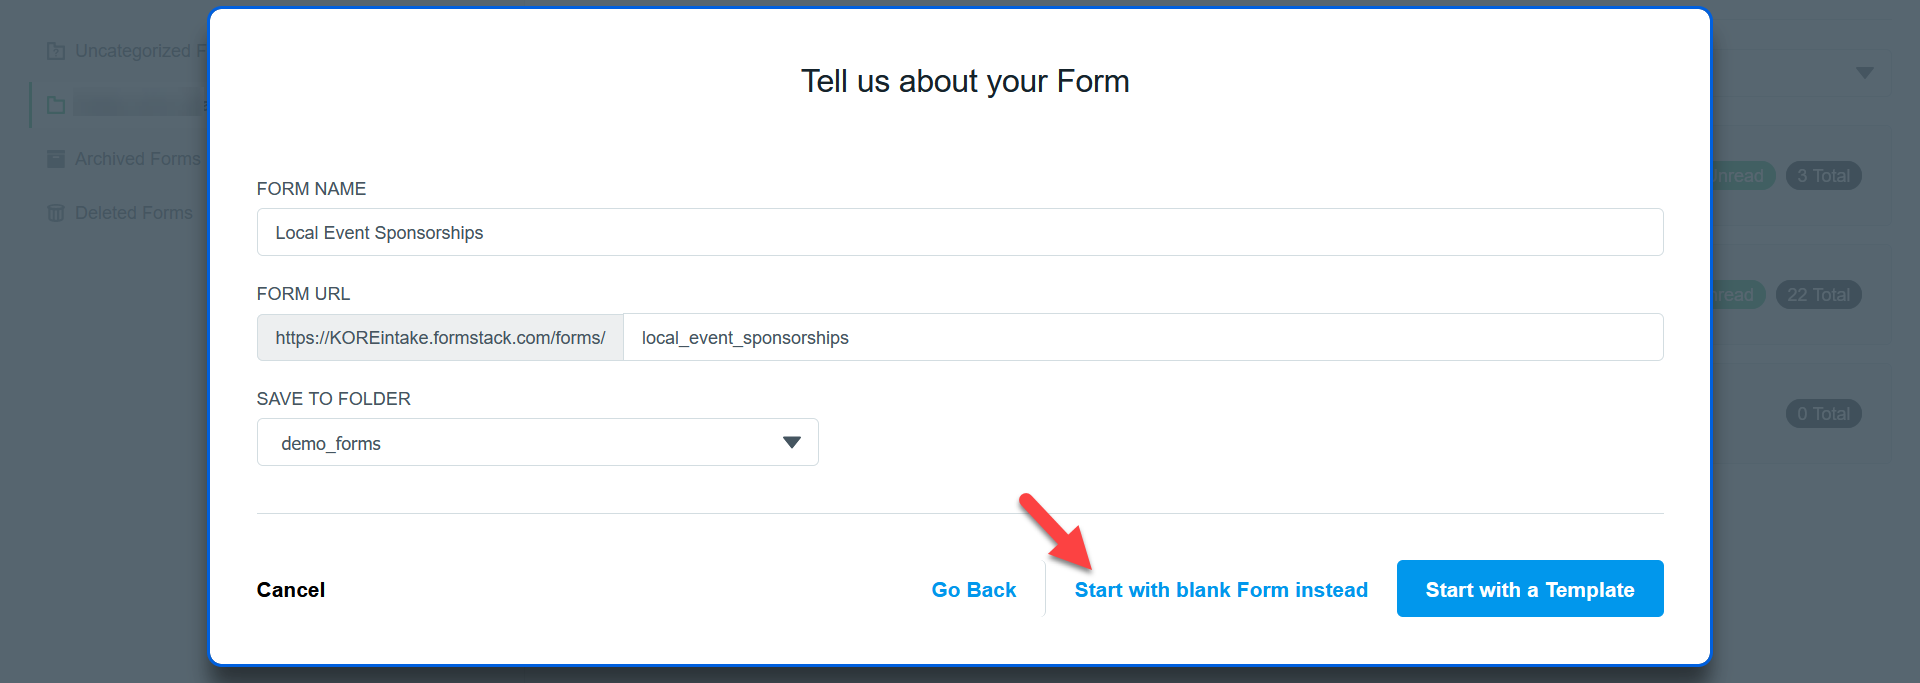
Provide a form name which will be used within Intake to identify this form. The form URL will auto-populate, but ensure the configurable part is something suitable for the public. (For example, the form name could include a department name that applicants shouldn’t see.) If your organization has folders for these forms, select the one to use.
Formstack’s templates are generally not useful for this particular use, so select Start with a blank Form instead.
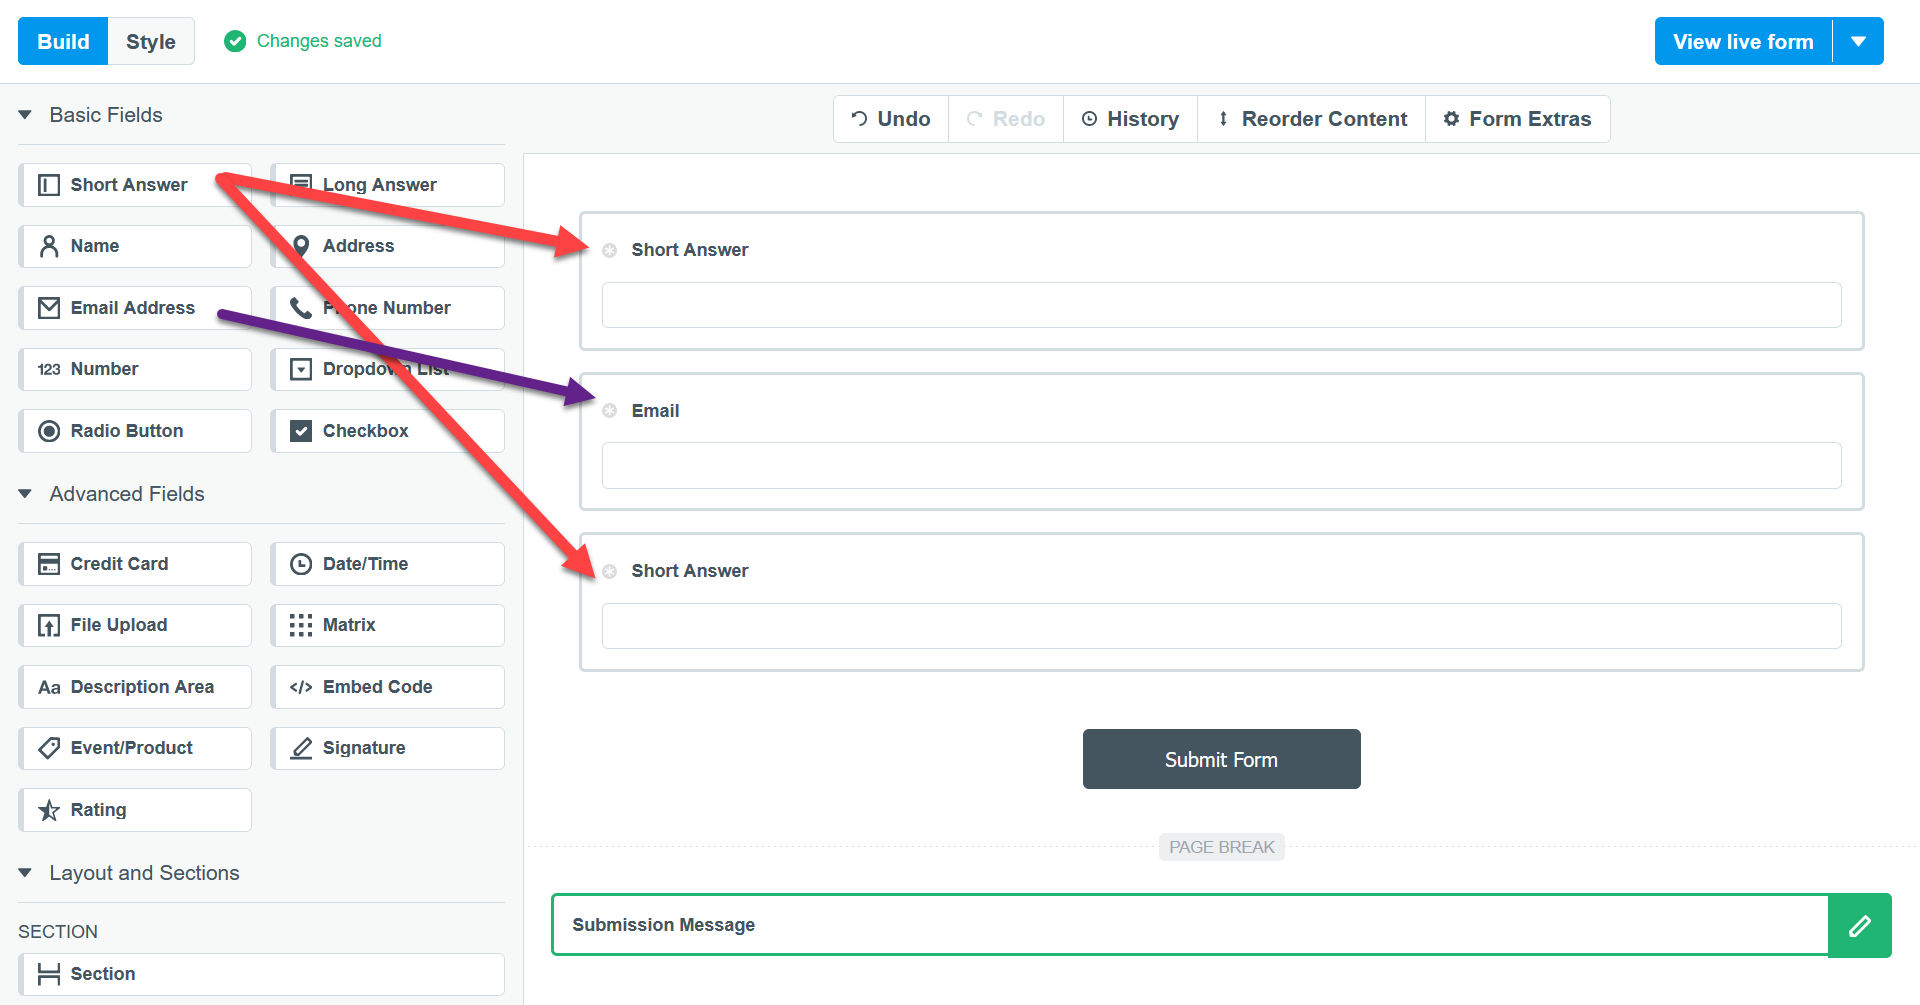
Begin by using the drag-and-drop interface to create these fields which are required by Intake. Then click each box to access its Field Properties.
- A “Short Answer” field labelled “Company or Organization Name”. Click the “Required” box.
- An “Email” field labelled “Email”. Check the “Required” box and the “Validate Email Address” box.
- A “Short Answer” field labelled “Name”. Check the “Required” box.
Warning: These fields must be created exactly as described above. If any of them are omitted or spelled differently, the form will not be available in Intake. The labels are case-sensitive.
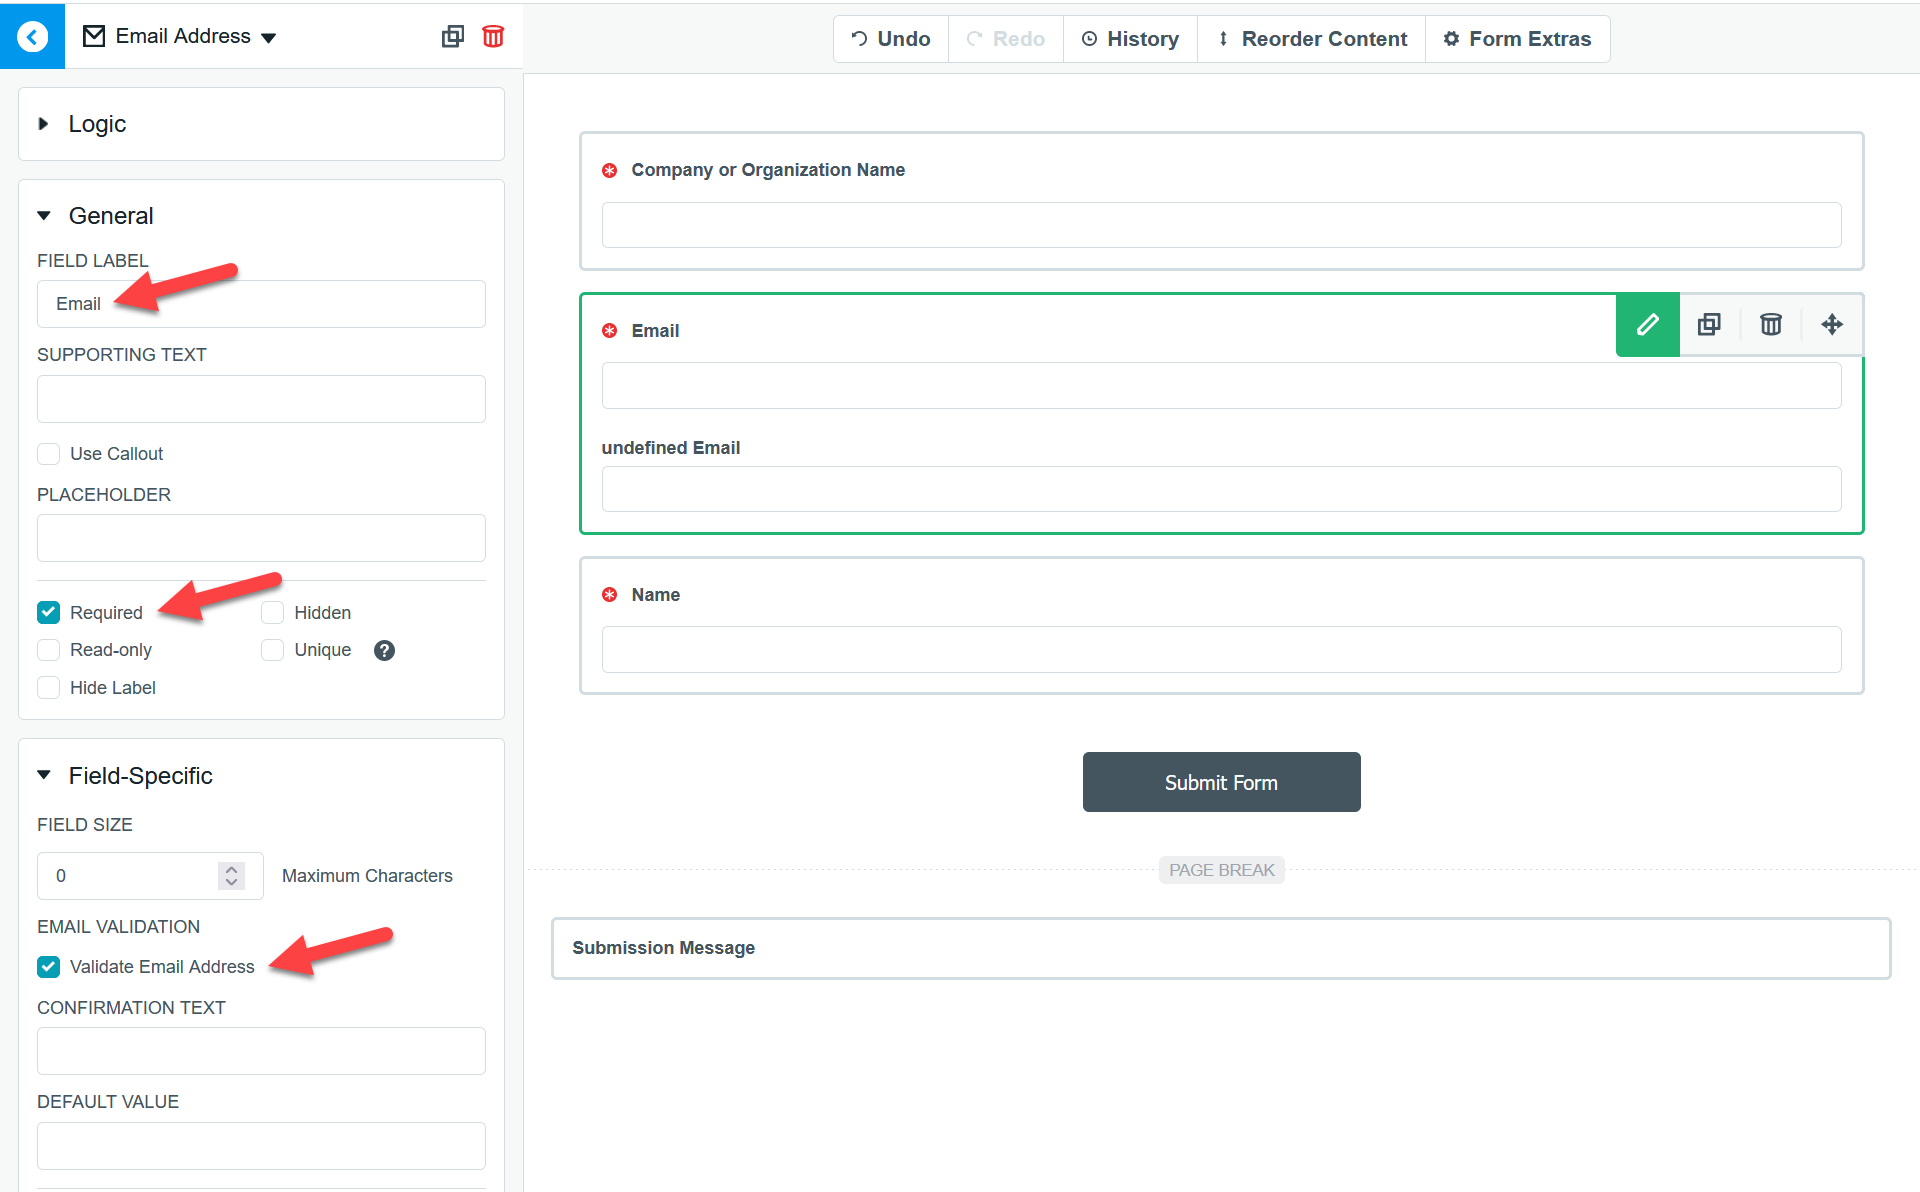
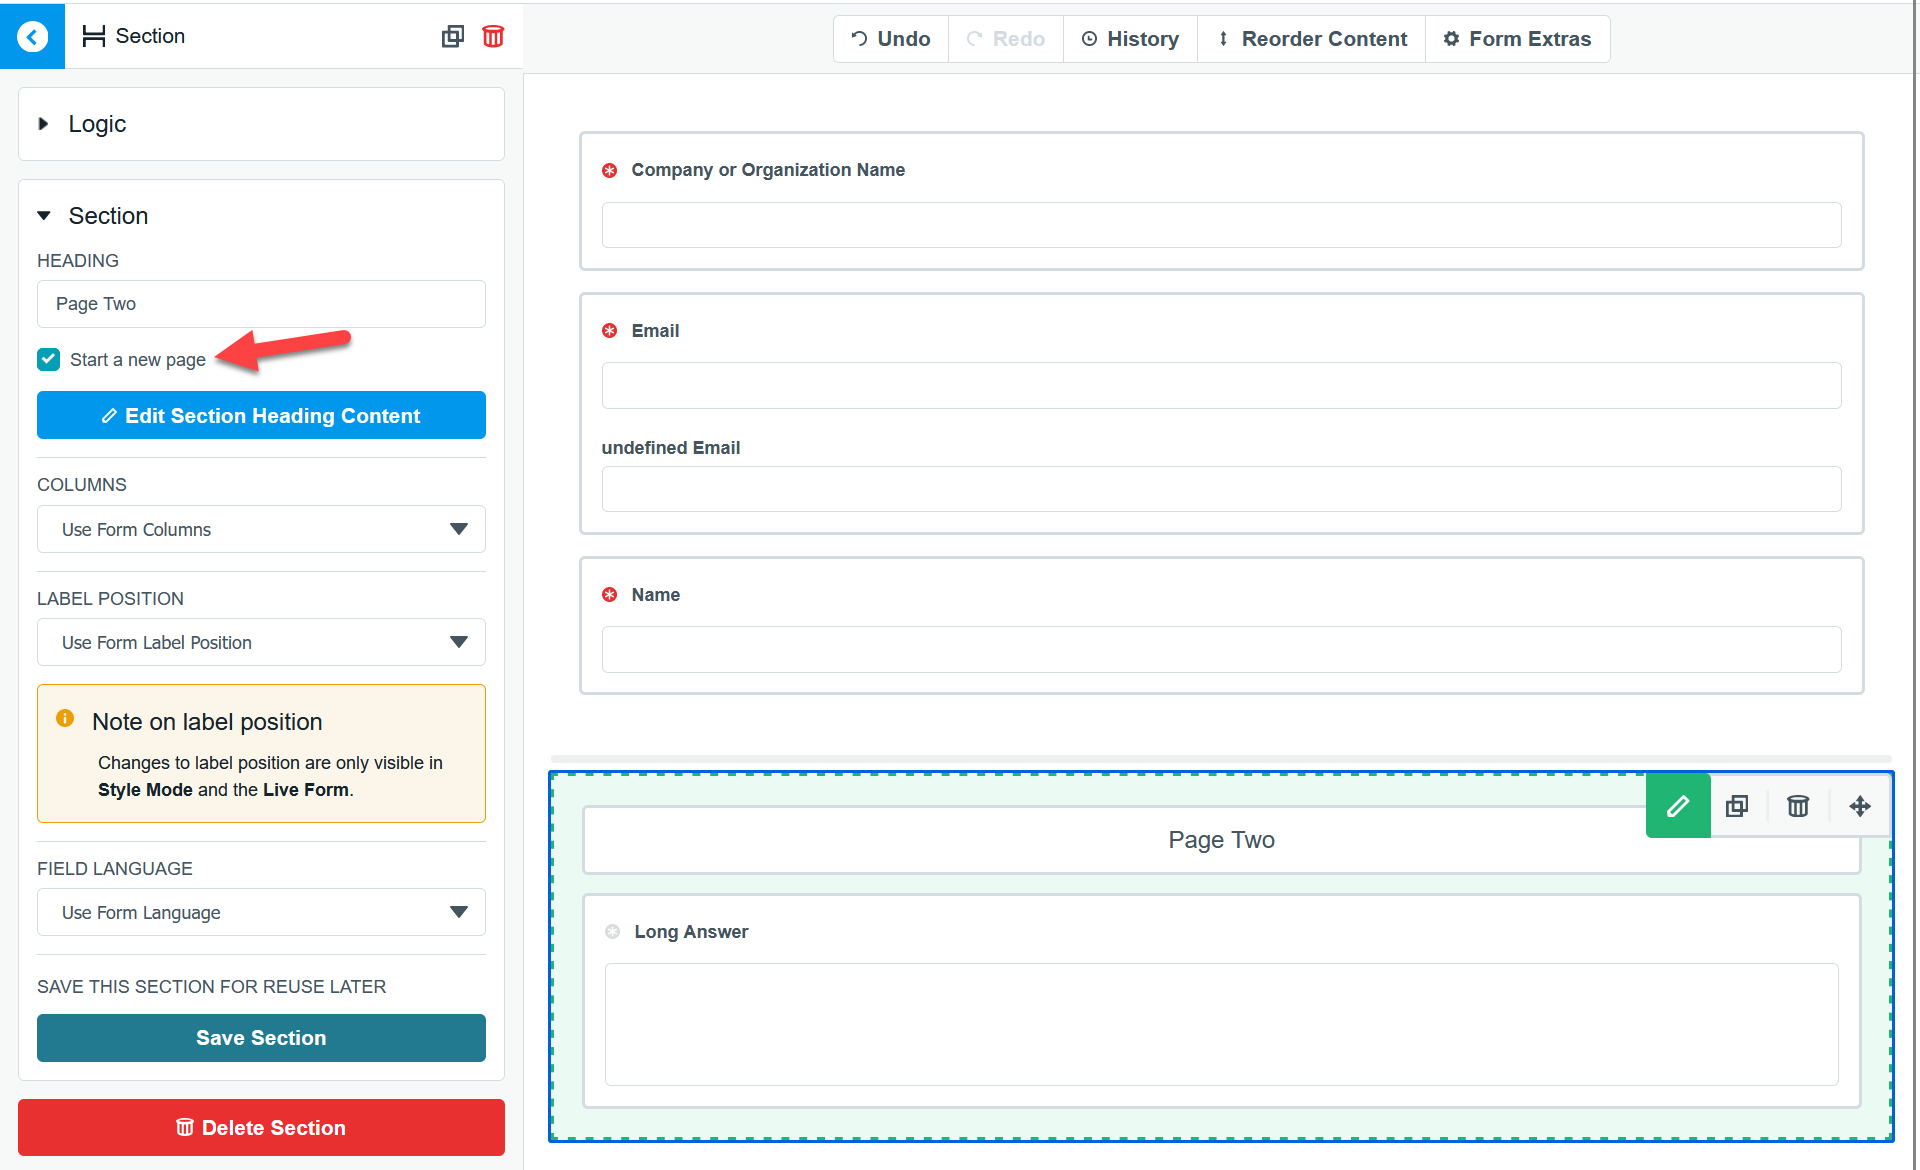
Continue by adding additional fields and sections as desired. You may optionally create a multi-page form by adding a section and checking the “Start a new page” box.
Finally, you may customize the Submission Message shown to users after they submit the form.
Once the form is complete, you can open the Settings tab and configure the emails Formstack sends. Organizations commonly choose to disable notification emails or send them to a designated address, and many submitters appreciate a confirmation email. If you opt to send confirmation emails, you can choose what address to send from (e.g.no-reply@example.com).
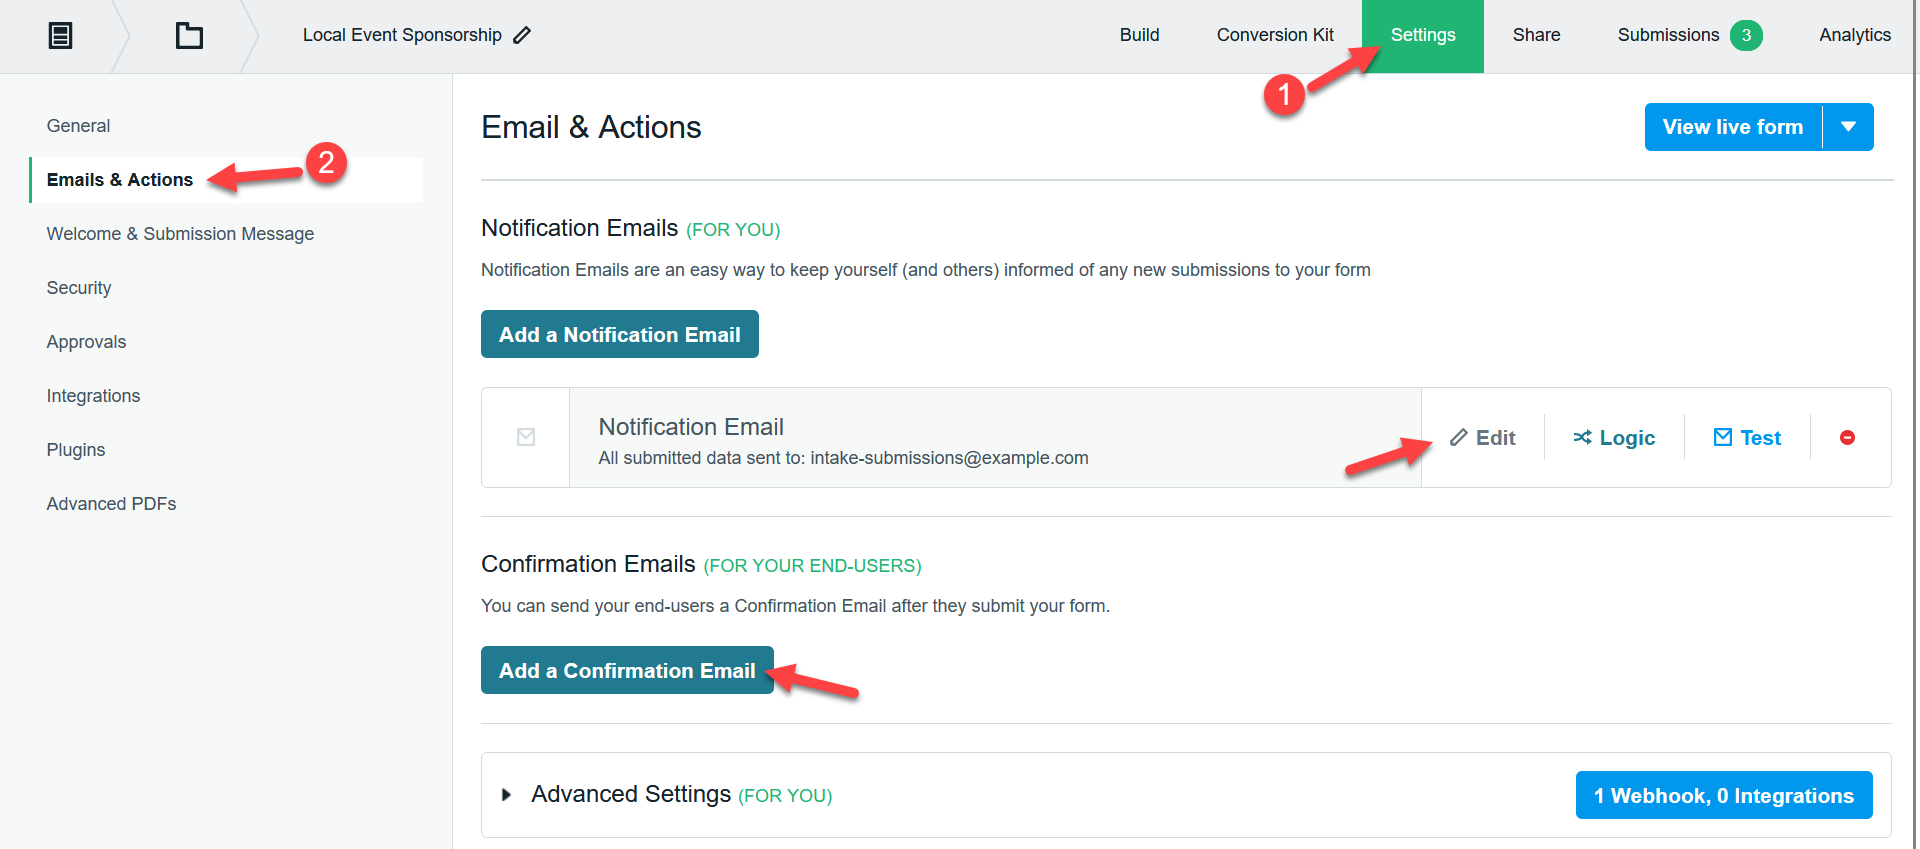
Warning: Do not change or disable the KORE Intake webhook within the Advanced Settings section. This is essential for Intake to function.
Next, return to Intake and configure scoring and auto-rejection.
